1. Click the Layers button.
The Layers
window appears.
The "System Layer" tab is displayed by default.
There are two ways to add a layer to a map:
· Add a System layer from a system supplied list
· Add an external layer using a URL (web address)
Tip: Response
time for larger data sets may be longer. To increase performance:
- Zoom in to a smaller area before adding the layer or map.
- Do not pan or change zoom level while a layer or map is loading.
Note: When
loading is completed, the loading indicator will disappear and the "spinners"
will stop.
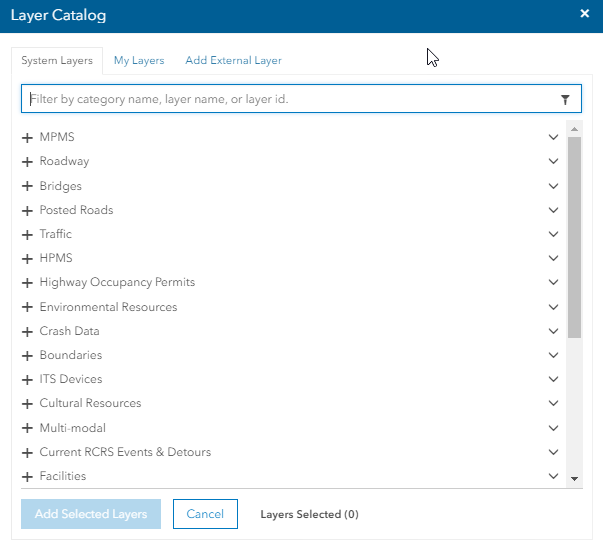
To add a System layer:
1. Click the Layers button.
The Layers
window appears.
The "System Layer" tab is displayed by default.
2. If desired, click My Layers to display a list of Layers you have saved for your use.
3. Select a category and a sub-category from the list by clicking on +.
4. Select checkboxes beside desired layers.
5. Click Add Selected Layers.
The selected layers are applied to the map.
6. For each layer, select Show All to display all of the layer's data or Filter to show only a desired portion of the layer's data.
Caution: Displaying the entire contents of a layer may take a long time.
7. Click Next.
The filter layer window will appear for each layer you chose to filter,
one at a time.
8. Enter the filter
information as desired. You may select a different filter for each layer.
When you are finished supplying filters, the layers are applied to the
map.
Tip: For
more information about filtering layers, refer to the following topics:
- Filter
Layer
- Add a Filter
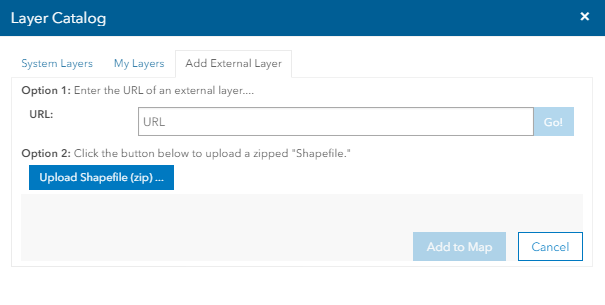
To add an external layer using a URL:
1. Next to External
Layers, click Add External Layer.
The Add
External window appears.
2. Enter a URL for the Layer.
OR
3. Upload Shapefile.
4. Click Add to Map.
The layer is applied to the map.